 how-to
DIY Garden Markers With Kids: A Step-by-Step Guide
Table of Contents
- What You'll Need to Make DIY Garden Markers
- Popsicle Stick Garden Markers: The Classic Approach
- Clay Garden Markers for Long-Lasting Labels
- Creating Waterproof Garden Markers That Survive the Seasons
- Container Garden Labels: Marking Your Potted Plants
- Step-by-Step Instructions for Making Markers With Kids
- Common Mistakes to Avoid When Making Garden Markers
- Frequently Asked Questions
Last Updated: October 7, 2026
What You'll Need to Make DIY Garden Markers
Making your own DIY garden markers is one of the easiest ways to keep your garden organized while having fun with the kids.
Here's what to gather before you start:
- Craft sticks, popsicle sticks, or jumbo craft sticks (the wider ones work great)
- Paint or paint pens in bright colors
- Permanent markers or waterproof pens
- Scissors or a craft knife
- Hot glue gun and glue sticks
- Optional: laminating sheets, clear acrylic sealer, or waterproof tape
- Newspaper or a plastic tablecloth to protect your work surface
- Small paintbrushes or foam brushes
The beauty of this project is flexibility. You can use what you have. Cardboard rectangles, craft foam, or even plastic animal figurines work as marker bases.
At Heritage Cottage Seeds, we recommend starting with basic supplies and adding fancier weatherproofing later once you see what works in your garden. Kids learn best when they're not overwhelmed with too many options anyway.
Popsicle Stick Garden Markers: The Classic Approach
Popsicle sticks are the go-to choice for a reason. They're inexpensive, easy to work with, and kids can handle them safely. You can find them at any craft store, or use leftover sticks from ice cream treats. The standard popsicle stick is about 4.5 inches long, which gives you plenty of room to write plant names. Jumbo craft sticks are even better if you want more writing space or plan to decorate them heavily.
Age-Specific Safety and Adaptations
One thing most tutorials skip is that a four-year-old and a nine-year-old need very different jobs at the same craft table. Here's how to split the work so everyone stays safe and busy:
- Ages 3-5: Let them paint the flat side of the stick with a thick foam brush, press stickers onto a pre-painted base, or hand you sticks to seal. Skip scissors, hot glue, and permanent markers entirely.
- Ages 6-8: They can trace plant names you've written in pencil, cut soft materials like craft foam with blunt-tip scissors, and help wrap waterproof tape around finished sticks. An adult still handles the craft knife and any spray sealer.
- Ages 9-12: They can write names freehand with permanent markers, measure and cut sticks with close supervision, and use a low-temp glue gun if you have one. Keep the hot glue station at the end of the table so nobody reaches across it.
A common pattern is to set up two stations: a "wet" station for painting and a "dry" station for writing and sealing. That keeps wet hands away from markers and finished work away from spills.
Low-Cost and Recycled-Material Options
You don't need a craft-store run to make this work. These swaps cost little or nothing and hold up just as well:
- Cardboard rectangles cut from cereal boxes, sealed on both sides with clear packing tape. Free, and the tape makes them surprisingly rain-resistant for a season.
- Plastic lids from yogurt or sour cream tubs, cut into strips. Write on them with permanent marker, punch a hole, and thread onto a stick.
- Old window blinds (vinyl or aluminum), cut into 6-inch lengths. They're already weatherproof and wipe clean for reuse next season.
- Wooden paint stir sticks from the hardware store, often free at the paint counter. They're wider than popsicle sticks and take marker beautifully.
If you're growing vegetables in containers on a patio or deck, these recycled bases work especially well because they don't sit in constant rain the way in-ground markers do.
A Reusable Labeling System
Rather than making throwaway markers every spring, build a system you can update. Write plant names on strips of waterproof tape or adhesive labels, then stick them to your sealed sticks.
Mississippi State University Extension recommends labeling at planting time, not later. It's easy to forget which variety you planted, especially if you're growing multiple tomato or pepper types. A reusable system makes it painless to label right away and update the label as plants grow or get replaced.
Sealing the Wood
One thing most people skip: sealing the wood. Unprotected sticks absorb water and start to warp or rot within a season. A coat of clear acrylic sealer or polyurethane keeps them looking good for years. Paint the flat side with acrylic paint first, let it dry completely, then write on it. A white or light-colored base makes plant names easier to read from a distance. Dark paint works too, but you'll need a light-colored marker to write on it.
Clay Garden Markers for Long-Lasting Labels
Air-dry clay gives you markers that last longer than painted sticks and look more polished.
Roll out the clay and cut it into rectangles or fun shapes. Press it onto a stick or leave it flat to push into soil.
Once dry, paint it with acrylic paint. The clay surface holds paint better than wood and won't splinter.
Clay markers feel more like a craft project than a practical tool, which is why kids enjoy making them.
Creating Waterproof Garden Markers That Survive the Seasons
Weatherproofing is where most homemade markers fail. Sun fades paint. Rain warps wood. Soil moisture degrades everything.
Here's what actually works: laminate your markers before you put them in the ground.
No laminator? Waterproof tape works too. Wrap it around the painted stick like you're wrapping a gift.
Acrylic sealer spray is the easiest option. Two coats of clear sealer over dried paint protects against sun and water.
For sticks that live in pots, weatherproofing matters less because they're not exposed to constant rain.
Container Garden Labels: Marking Your Potted Plants
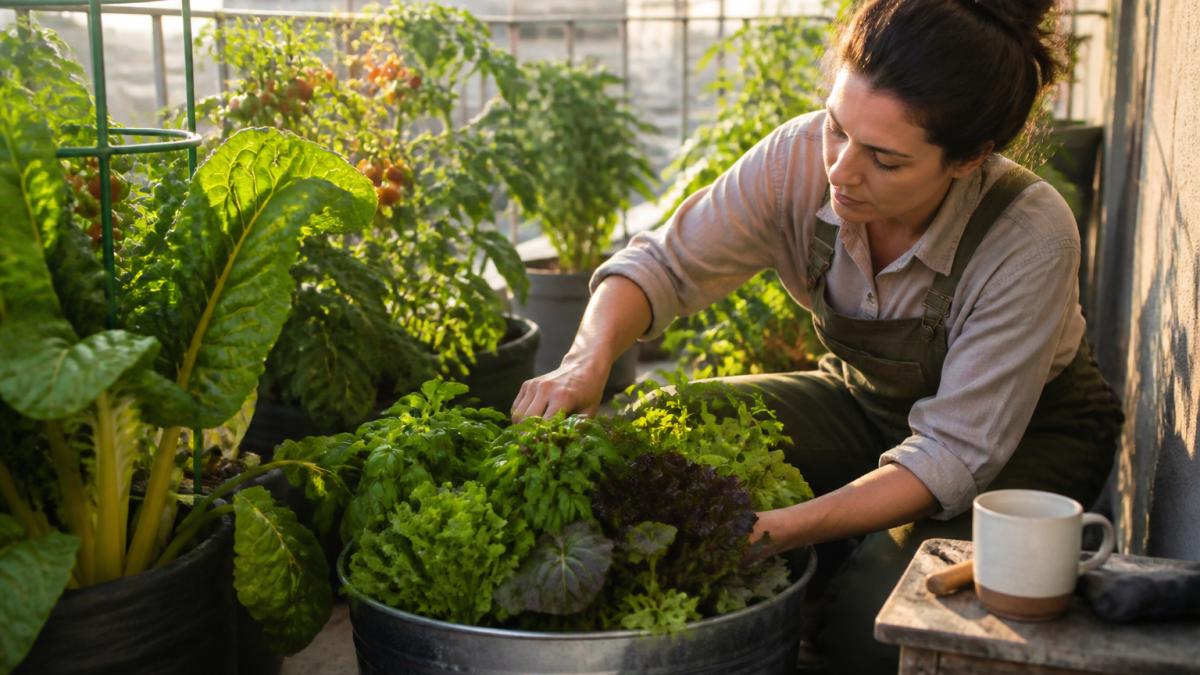
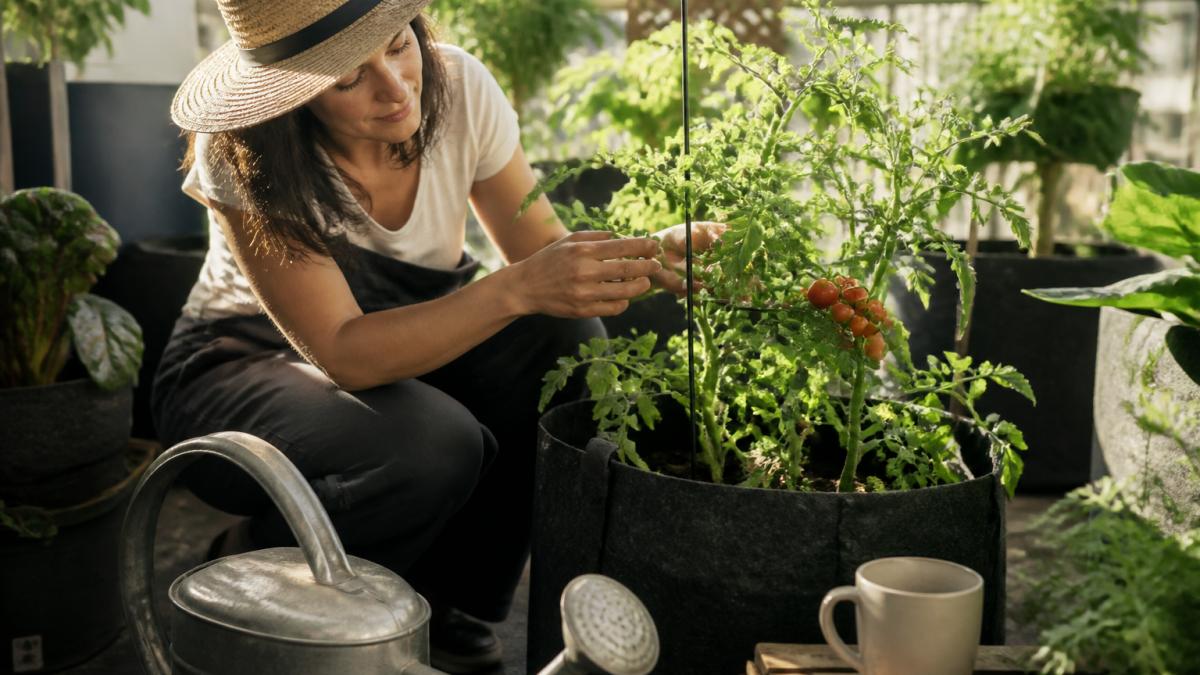
Container gardens need a different approach than in-ground beds. Pots dry out faster, and markers get bumped around more often.
Shorter markers work better in pots. Cut your sticks to 3 inches instead of 5 or 6.
Push the marker down into the soil at an angle toward the plant. This keeps it visible but out of the way.
If you're growing vegetables in containers on a patio or deck, consider making a simple label holder.
Mississippi State University Extension recommends labeling at planting time, not later. It's easy to forget which variety you planted, especially if you're growing multiple tomato or pepper types.
Step-by-Step Instructions for Making Markers With Kids
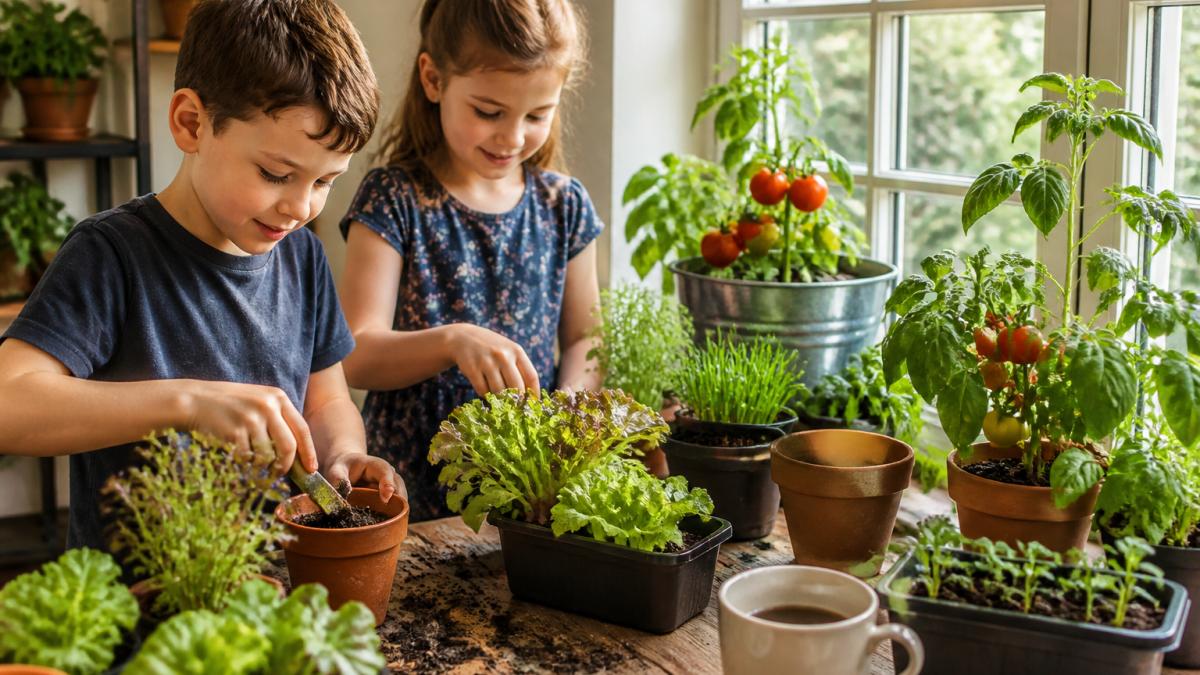
Making markers together teaches kids about organization while letting them be creative. The whole project takes about an hour from start to finish, and you can stretch it across two sessions if attention spans run short.
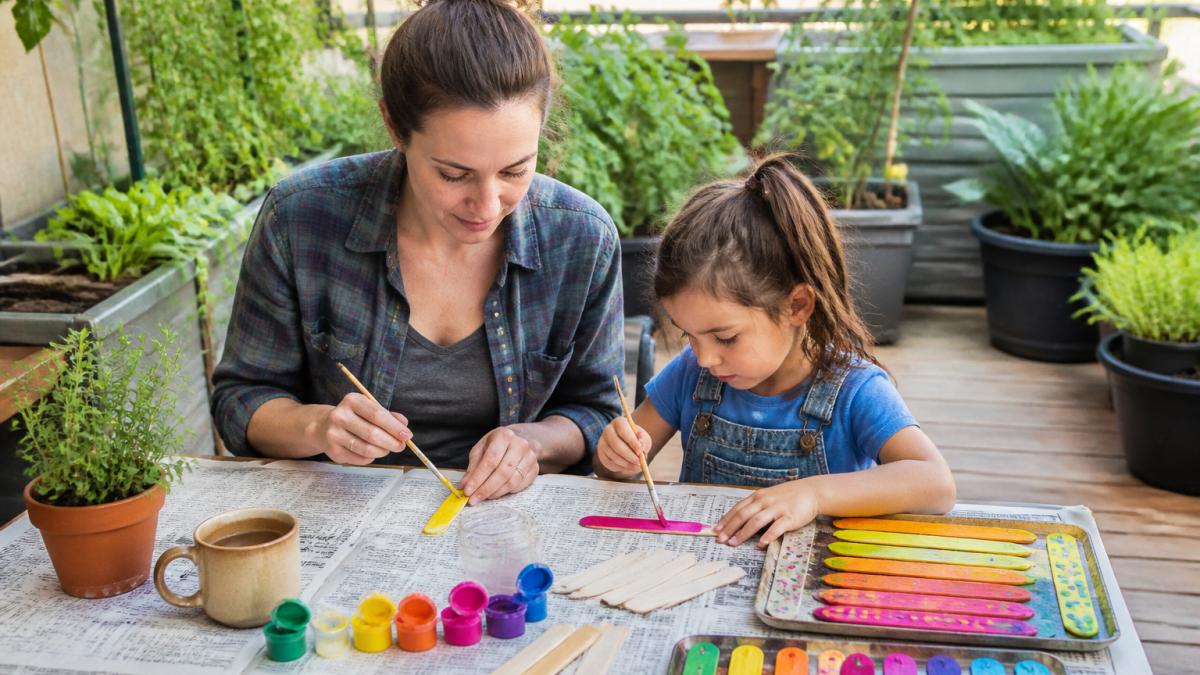
Step 1: Prepare Your Workspace and Materials
Spread newspaper or a plastic tablecloth over your work table. Gather all supplies within reach so kids don't have to hunt for things. Have them wash their hands first.
Set out paint in small containers. Use old egg cartons or muffin tins to hold different colors. This keeps paint organized and prevents spills.
Cut sticks to length before painting if you're using a craft knife. Kids can handle scissors for softer materials like foam, but let adults handle sharp blades.
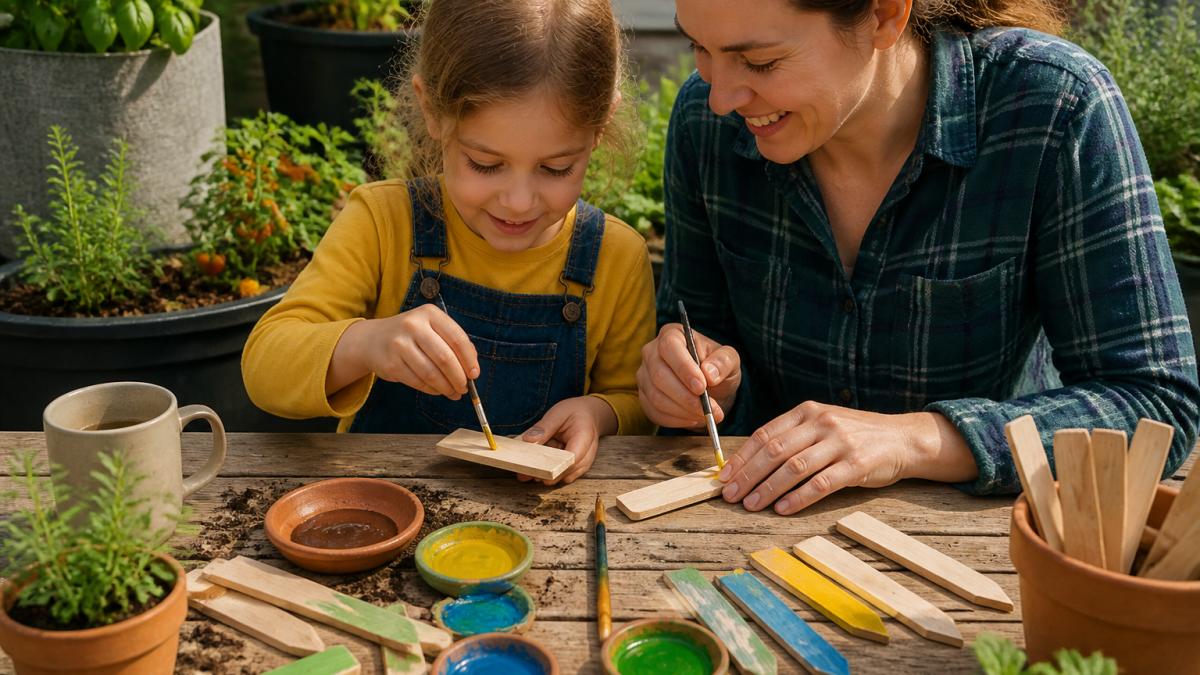
Step 2: Paint or Decorate Your Base
Let kids pick their colors. Bright colors are more visible in the garden and more fun to paint.
Paint the flat side of the stick first. Let it dry before flipping it over.
Once the base coat is dry, they can add designs. Stripes, dots, or simple patterns make each marker unique.
Let paint dry completely before moving to the next step. This usually takes 30 minutes to an hour depending on paint thickness and humidity.
Step 3: Write Plant Names and Varieties
Use permanent markers or paint pens to write plant names. Permanent markers work on painted surfaces better than regular markers.
Write clearly and large enough to read from a few feet away. Include the variety if you're growing multiple types of the same plant.
Let kids write in their own handwriting. It's more personal and helps them remember what they planted.
If you make a mistake, don't stress. Permanent marker mistakes can be covered with another coat of paint.
Step 4: Seal and Weatherproof
Once names are written and dry, apply your waterproofing choice. Laminating sheets are simplest for kids. They can help feed the stick through the laminator.
Acrylic spray sealer works too, but this step should be adult-only. Two thin coats work better than one thick coat. Let each coat dry before applying the next.
If you're using waterproof tape, have kids help wrap it around the stick. They can press it down to make sure it sticks well.
Step 5: Match Markers to Seed Packets and Plant Them
This is the step most craft tutorials skip, and it's the one that keeps your garden organized all season. Before you push a single marker into soil, lay out your seed packets next to the finished markers and match them up.
For containers, push the marker into the soil at an angle toward the plant so it stays visible but out of the way. For garden beds, space markers so they're easy to see when you're watering or weeding.
Step 6: Update Labels as Plants Grow
Seasons change, and so do your plantings. When you pull a spent plant and sow something new, swap the label rather than making a whole new marker.
Mississippi State University Extension recommends labeling at planting time, not later. It's easy to forget which variety you planted, especially if you're growing multiple tomato or pepper types. Label right away so you don't lose track.
Common Mistakes to Avoid When Making Garden Markers
The biggest mistake is skipping the weatherproofing step. Unprotected paint fades within weeks. Wood warps and splinters.
Don't use regular markers or ballpoint pens. They wash off in rain or fade in sun.
Avoid making markers too small. If you can't read the plant name from a few feet away, the marker isn't doing its job.
Don't forget to label at planting time.
Resist the urge to use thin sticks or flimsy materials.
Frequently Asked Questions
How do you make homemade garden markers that last outdoors?
The best outdoor DIY garden markers combine a durable base with waterproof protection. Use popsicle sticks or clay, paint with acrylic paint, write plant names with permanent markers or paint pens, then seal with clear polyurethane or laminate. This combination protects against rain, sun, and temperature changes. For container gardens, laminating cards before attaching them to sticks adds extra durability. Mississippi State University Extension recommends testing your markers in your specific climate conditions before relying on them for the entire season.
What's the best way to make waterproof garden markers for vegetables?
Waterproof garden markers need two layers of protection. First, use fade-resistant materials like acrylic paint or paint pens designed for outdoor use. Second, seal everything with a waterproof coating such as clear polyurethane, polycrylic, or laminating film. For vegetable gardens, include the plant variety and planting date on your markers so you can track performance. Clay markers naturally resist water better than cardboard, making them excellent for long-term labeling in both raised beds and container gardens.
Can you use popsicle sticks as garden markers, and how do you make them last?
Yes, popsicle sticks are one of the easiest and most affordable options for DIY garden markers. To extend their lifespan, sand the surface lightly before painting, use quality acrylic paint in two coats, and seal with polyurethane. Jumbo craft sticks are thicker and more durable than standard popsicle sticks. Even with sealing, expect popsicle stick markers to last one to two seasons outdoors. For longer-term use, consider rotating in fresh markers each year or moving to clay alternatives.
What should you write on a garden marker for vegetables?
Write the plant or vegetable name clearly, and include the variety if you're growing heirlooms or multiple types. Adding the planting date helps you track growth and know when to expect harvest. For herbs and vegetables in containers, note the pot size and watering needs if sharing garden space with others. Use permanent markers or paint pens so writing doesn't fade in sunlight. Keep text large enough to read from several feet away, especially in a busy garden bed.
Making DIY garden markers with kids turns a practical task into a memory. Your children remember the plants they grew and the markers they made. Heritage Cottage Seeds customers often tell us their kids ask to remake markers each spring, which means they're already thinking about next year's garden. Start with basic supplies, let kids get messy with paint, and don't worry about perfection. The markers work, they look homemade (which is the point), and they cost almost nothing. That's a win.