 ultimate-guide
How to Save Tomato Seeds Properly: A 2026 Guide
Table of Contents
- Heirloom vs Hybrid Tomato Seeds: What You Can Actually Save
- Choosing and Harvesting the Right Fruit to Save Tomato Seeds
- Fermenting Tomato Seeds: The Step-by-Step Process
- Cleaning, Rinsing, and Drying Seeds After Fermentation
- Seed-Borne Disease Prevention Before You Store
- How to Store Tomato Seeds for Maximum Shelf Life
- How to Save Tomato Seeds Properly: Common Mistakes to Avoid
- Frequently Asked Questions
Last Updated: August 19, 2026
Knowing how to save tomato seeds properly is one of the most practical skills a home gardener can develop. The steps are straightforward, but the details matter enormously. Get fermentation wrong and your seeds rot. Skip disease prevention and you carry problems into next season. This guide covers everything from choosing the right fruit to long-term storage, with a specific focus on genetics, seed health, and germination testing.
Heirloom vs Hybrid Tomato Seeds: What You Can Actually Save
Not all tomato seeds are worth saving. Heirloom tomato seeds are open-pollinated varieties that breed true, meaning offspring reliably resemble the parent plant. F1 hybrid seeds produce unpredictable results in the next generation: smaller fruit, different colors, lower yields, or traits that don't match the parent. Save seeds only from open-pollinated, non-hybrid varieties.
Why Open-Pollinated Varieties Are the Only Option Worth Saving
Open-pollinated tomatoes reproduce through natural pollination, keeping genetics stable across generations. Tomatoes are largely self-pollinating, which makes them ideal for seed saving. The flower typically pollinates itself before opening fully, reducing cross-pollination risk.
Cross-Pollination Risks and How to Prevent Them
Cross-pollination in tomatoes is less common than in peppers or squash, but bumblebees can transfer pollen between plants. If growing multiple varieties in close proximity, saved seeds may carry neighboring plant genetics.
Practical fixes:
- Separate different tomato varieties by at least 10 feet
- Bag individual flower clusters before they open, then remove after fruit sets
- Grow only one variety of each type for genetic purity
According to University of Minnesota Extension seed saving guidelines, a minimum isolation distance of 10 to 25 feet is generally recommended for home gardeners saving tomato seeds.
Choosing and Harvesting the Right Fruit to Save Tomato Seeds
The quality of your saved seeds starts with fruit selection. For seed saving, leave fruit on the vine longer than you would for eating.
What Mature Fruit Looks Like (and Why It Matters)
Seed maturity lags behind fruit ripeness. Choose fruit that is fully ripe, deeply colored, and slightly past the stage you'd normally harvest. The skin should be starting to soften.
What to look for:
- Deep, uniform color throughout the fruit
- Slight softness when pressed
- At least a week past normal harvest stage
- No disease symptoms on plant or fruit
Choose fruit from your healthiest, most productive plants. Pick two or three fruits from different plants of the same variety to maintain genetic diversity.
Fermenting Tomato Seeds: The Step-by-Step Process
Fermentation breaks down the gelatinous coating surrounding tomato seeds, which contains germination inhibitors. This mimics natural decomposition and removes seed-borne pathogens from the surface.
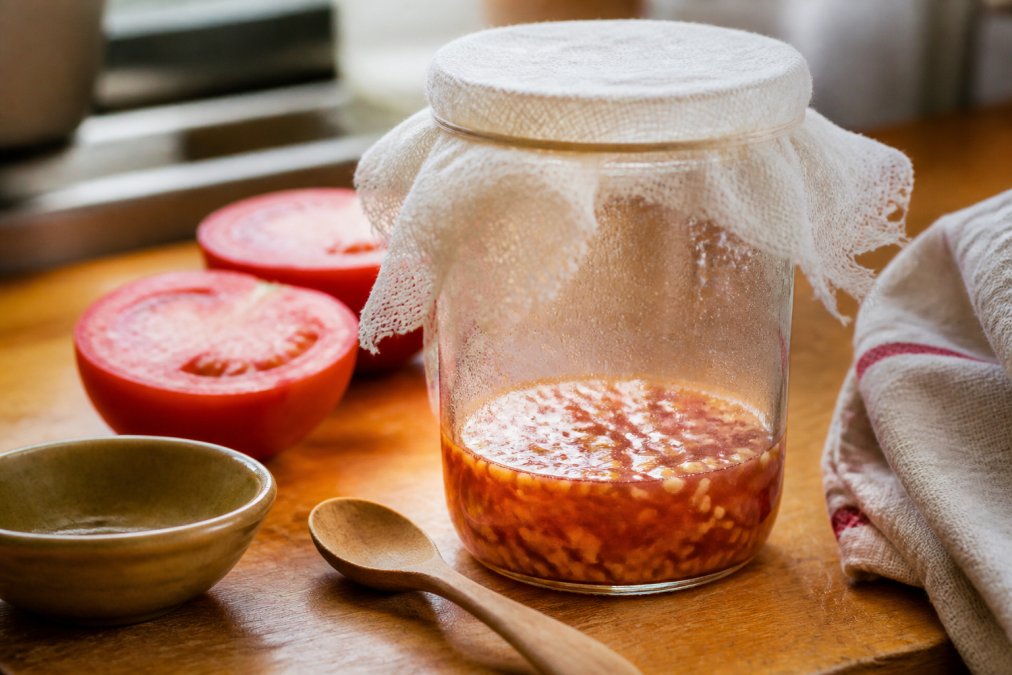
Extracting the Pulp and Setting Up Your Fermentation Jar
What you'll need: A clean mason jar, a knife, a spoon, water, cheesecloth or a fine strainer, and paper towels for drying.
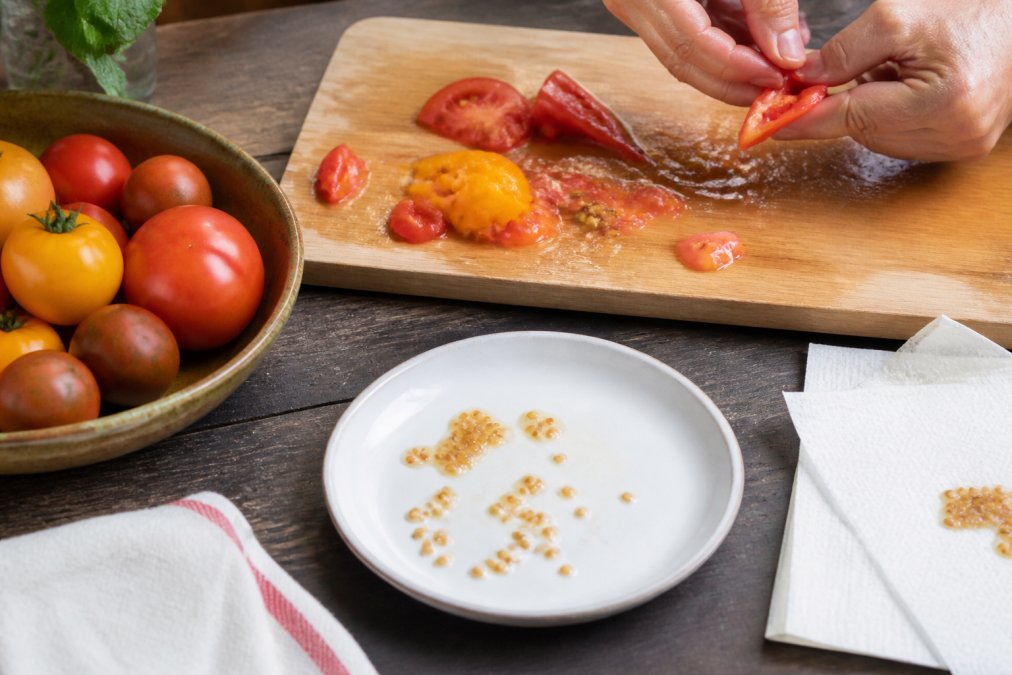
Step 1: Cut the tomato in half across its equator to expose the seed cavities.
Step 2: Squeeze or scoop the seeds and pulp into your mason jar, including the gel and juice.
Step 3: Add an equal amount of water to the jar and stir briefly.
Step 4: Cover loosely with cheesecloth or a paper towel secured with a rubber band. Do not seal with a lid.
Step 5: Label the jar with the variety name and date.
Step 6: Set the jar in a warm spot at around 70-80°F. Fermentation typically takes 2 to 4 days.
Reading the Fermentation: What Mold Growth Tells You
After a day or two, white or gray mold will form on the surface. This is normal and expected. The mold kills certain seed-borne pathogens, including those associated with bacterial canker.
Watch for these signs:
- White or gray surface mold: Normal fermentation.
- Seeds sinking to the bottom: Fermentation is complete. Viable seeds are dense enough to sink.
Don't let fermentation run longer than 4 to 5 days, as extended fermentation can damage the seed coat.
Cleaning, Rinsing, and Drying Seeds After Fermentation
Step 1: Pour the jar contents through a fine mesh strainer. Discard the mold layer and floating material.
Step 2: Rinse the seeds thoroughly under running water while rubbing them between your fingers to remove all pulp and gel.
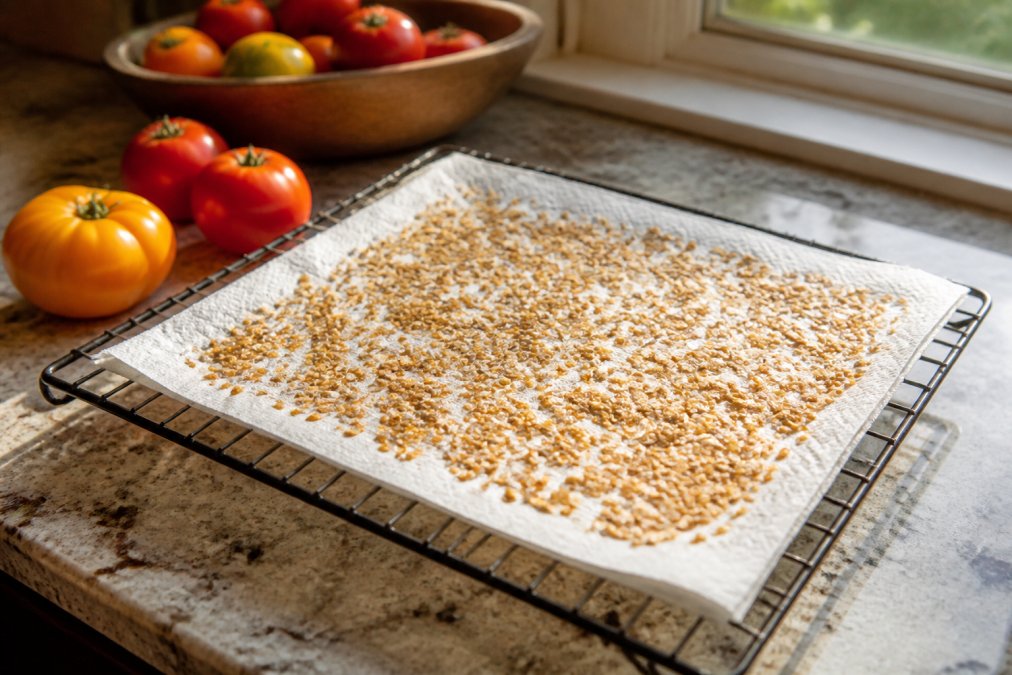
Step 3: Transfer seeds to a paper towel or ceramic plate in a single layer.
Step 4: Allow seeds to dry completely in a warm, well-ventilated area for 1 to 2 weeks. Avoid temperatures above 95°F.
Step 5: Test for dryness by pressing a seed with your fingernail. A properly dried seed should snap cleanly.
Seed-Borne Disease Prevention Before You Store
Fermentation handles many surface pathogens, but only save seeds from plants that showed no disease throughout the season. Bacterial canker, septoria leaf spot, and early blight can be carried on saved seeds. According to Cornell University's vegetable disease management resources, bacterial canker is one of the most economically damaging tomato diseases, with infected seed as a primary source of introduction.
An optional final rinse in dilute hydrogen peroxide (1 part 3% hydrogen peroxide to 4 parts water for 1 to 2 minutes) provides additional surface sterilization. Rinse thoroughly with clean water afterward.
How to Store Tomato Seeds for Maximum Shelf Life
Properly saved and dried tomato seeds remain viable for 4 to 6 years under good storage conditions. The enemies of seed viability are moisture, heat, and light.
Containers, Desiccants, and the Right Environment
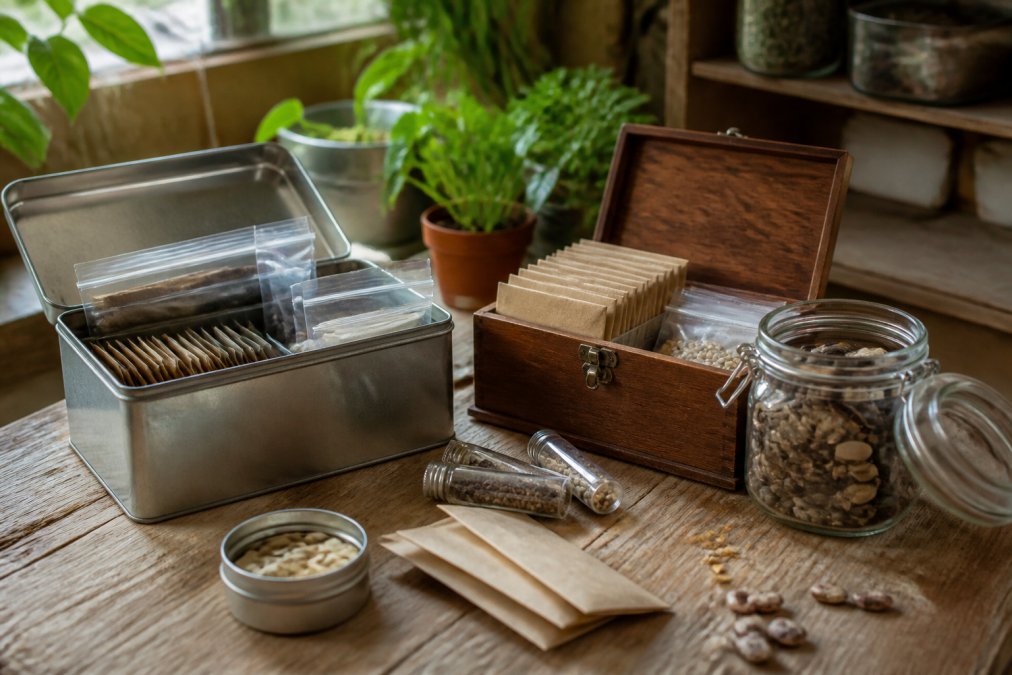
Air-tight containers are essential. Glass mason jars with tight-fitting lids are the gold standard. Add a desiccant packet (silica gel or powdered milk wrapped in tissue) to absorb residual moisture.
Storage environment guidelines:
| Factor | Ideal Condition | Acceptable Range |
|---|---|---|
| Temperature | 35-50°F | Below 65°F |
| Humidity | Below 40% | Below 50% |
| Light exposure | None | Minimal |
| Container | Air-tight glass | Air-tight plastic |
A refrigerator or freezer works for long-term storage if seeds are completely dry. Allow seeds to come to room temperature before opening containers to prevent condensation.
Labeling, Dating, and Germination Testing
Label every container with variety name, year saved, and source plant. Germination testing is the most reliable way to know whether your saved seeds are still viable:
- Count out 10 seeds from your stored batch
- Dampen a paper towel and place seeds on one half
- Fold the towel over and place in a zip-lock bag
- Keep at room temperature (around 70°F)
- Check daily for germination, typically within 5 to 10 days
- Count sprouted seeds
If 8 or more of 10 seeds germinate, your seed stock has strong viability. If fewer than 5 germinate, plant more densely or source fresh seeds. As noted in USDA Agricultural Research Service seed storage guidelines, germination rate is the most practical field indicator of seed lot quality.
How to Save Tomato Seeds Properly: Common Mistakes to Avoid
| Mistake | Why It Matters | Fix |
|---|---|---|
| Saving from F1 hybrids | Offspring won't breed true | Save only from open-pollinated varieties |
| Harvesting underripe fruit | Seeds not physiologically mature | Leave fruit on vine until slightly overripe |
| Skipping fermentation | Gelatinous coating inhibits germination; pathogens survive | Always ferment for 2-4 days |
| Over-fermenting | Damages seed coat, reduces viability | Check after 48 hours in warm conditions |
| Insufficient drying | Moisture causes mold in storage | Dry for 1-2 weeks; test with fingernail snap |
| No desiccant in storage | Humidity destroys seeds over time | Add silica gel to every storage container |
| Unlabeled containers | Seeds become unusable after one season | Label with variety, year, and source |
| Ignoring disease signs | Seed-borne pathogens carry forward | Never save from plants that showed disease |
The biggest mistake is treating seed saving as an afterthought. Plan at the start of the season when you decide which varieties to grow and which plants to mark for selection. Test a small batch each winter before planting season, it takes ten minutes and saves a season.
For anyone focused on preserving heirloom genetics across years, the process described here is the same one Heritage Cottage Seeds relies on when selecting and verifying the open-pollinated varieties in our catalog.
Seed saving feels complicated until you do it once, then becomes second nature. The real challenge is starting with the right genetics. Heritage Cottage Seeds specializes in rare, open-pollinated tomato varieties selected for home gardeners who want to grow exceptional produce and save seeds year after year. Our curated collection features tested, proven performers not readily available elsewhere. Search our catalog to find your next heirloom variety worth preserving.
Frequently Asked Questions
Do I need to ferment tomato seeds to save them?
Fermentation is strongly recommended for saving tomato seeds properly. The process breaks down the gelatinous coating surrounding each seed, which can inhibit germination and harbor seed-borne pathogens like bacterial canker. Skipping fermentation leaves that coating intact, reducing seed viability and increasing disease risk. While some gardeners skip this step with mixed results, fermenting gives your seeds the best possible start and is the method used by experienced seed savers to maintain long-term germination rates.
How long do saved tomato seeds last?
Properly dried and stored tomato seeds typically remain viable for four to six years. Seed viability drops off faster when seeds are exposed to heat, humidity, or light. Storing seeds in an air-tight container with a desiccant packet in a cool, dark place extends shelf life significantly. Run a simple germination test on older seeds before planting: place ten seeds on a damp paper towel, fold it over, and check for sprouts after seven to ten days. A 70% or higher germination rate means the seeds are still worth planting.
Can I save seeds from hybrid tomatoes?
Technically yes, but the seeds will not grow true to the parent plant. Hybrid tomatoes, labeled F1 on seed packets, are bred by crossing two distinct parent lines. Seeds saved from them will revert unpredictably toward one parent or the other, producing fruit that looks and tastes different from what you harvested. To save seeds reliably year after year, always start with open-pollinated or heirloom varieties. These breed true from seed, so the tomatoes you grow next season will match what you picked this year.
How do I know if my saved tomato seeds are still good?
A germination test is the clearest answer. Dampen a paper towel, place ten seeds on one half, fold it over, and seal it in a plastic bag at room temperature. Check after seven to ten days. If seven or more seeds sprout, your seed viability is solid and the batch is worth planting at normal spacing. Below 50% germination, either plant seeds more densely to compensate or consider starting fresh with new seeds for that variety.