 how-to
Saving Heirloom Seeds: A Simple Step-by-Step Guide
Last Updated: November 1, 2026
Quick Summary
To save heirloom seeds at home, let your best plant ripen fully, then clean and dry the seed. Tomatoes need a short fermentation to strip the gel coating, while peppers only need scraping and drying. Dry seeds until they snap, then store them in labeled envelopes inside an airtight jar in a cool, dark, dry place.
- Tag your strongest, healthiest plant early and let its best fruit ripen fully on the vine.
- Ferment tomato seeds for two to four days until a fuzzy layer forms on top.
- Dry seeds in a single layer out of direct sun and keep temperatures below about 95°F.
- Seeds are ready for storage when they feel hard and snap rather than bend.
- Aim for seed moisture around 10 to 12 percent, per Mississippi State University Extension.
Table of Contents
- Why Save Heirloom Seeds at Home?
- Choosing Healthy Plants for Seed Saving
- How to Save Tomato Seeds: Wet Fermentation Step by Step
- How to Save Pepper Seeds from Dry and Fleshy Pods
- How to Dry Seeds for Storage Without Losing Viability
- How to Store Seeds for Next Year in Containers
- Planning Your Next Seed Saving Season
- Frequently Asked Questions
Grab a cup of coffee, pull up a chair, and let's talk seeds. Saving heirloom seeds at home is one of the most rewarding things a gardener can do, and it's easier than most people expect. Whether you're working a few containers on a balcony or a sunny patch in the backyard, you can keep your favorite tomato and pepper varieties going year after year. This guide walks you through the process the way I'd explain it over the back fence, with a southeast focus and plenty of container-friendly tips.
Why Save Heirloom Seeds at Home?
Saving your own seed means your favorite plants come back true to type, season after season. When you save heirloom seeds from open-pollinated plants, they pass their traits down to the next generation, so the tomato that tasted great this year can taste just as good next summer. Explore the benefits of open-pollinated seeds for your garden.
It also saves money and gives you a connection to the plants you grow.
- Keep varieties you love without buying new packets each spring
- Preserve rare and unusual genetics
- Build your own seed library over time
Choosing Healthy Plants for Seed Saving
Your seed is only as good as the plant it comes from. Pick your strongest, healthiest plant early in the season and mark it with a tag or a piece of colored tape.
Look for plants that are vigorous, disease-free, and productive. Avoid saving from plants that were weak, sickly, or obviously off-type.
- Choose plants with strong growth and good fruit set
- Avoid plants with signs of disease or pest damage
- Let the best fruit ripen fully on the vine before harvesting seed
How to Save Tomato Seeds: Wet Fermentation Step by Step
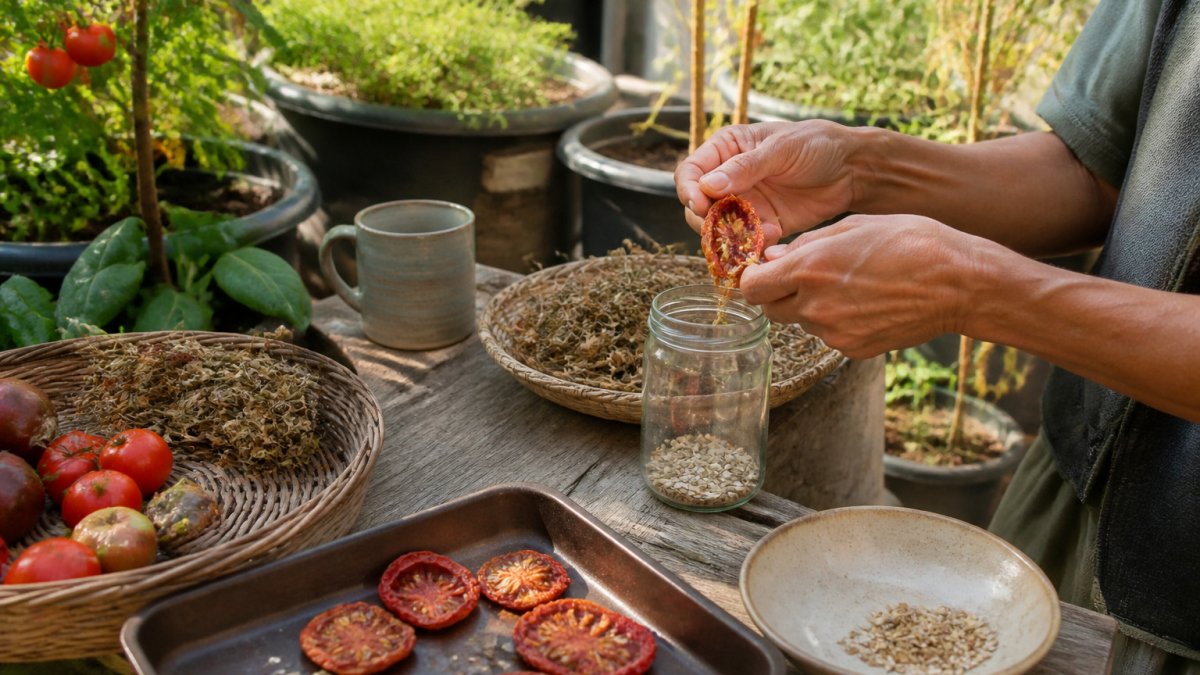
Tomatoes have a gel coating around each seed that can carry disease and stop germination. Fermentation removes that coating, so take the time to do it right.
- Scoop the seeds and surrounding gel into a clean glass jar.
- Add a little water, enough to cover the mixture.
- Stir and cover loosely with a paper towel or cloth.
- Leave the jar in a warm spot for two to four days. A fuzzy layer on top means fermentation is working.
- Add water, stir, and let the good seeds sink. Pour off the pulp and floating debris.
- Rinse the seeds until they look clean.
- Spread them on a plate or paper towel to dry.
Watch out: Don't ferment for too long. Seeds left too long can start to sprout or lose viability.
How to Save Pepper Seeds from Dry and Fleshy Pods
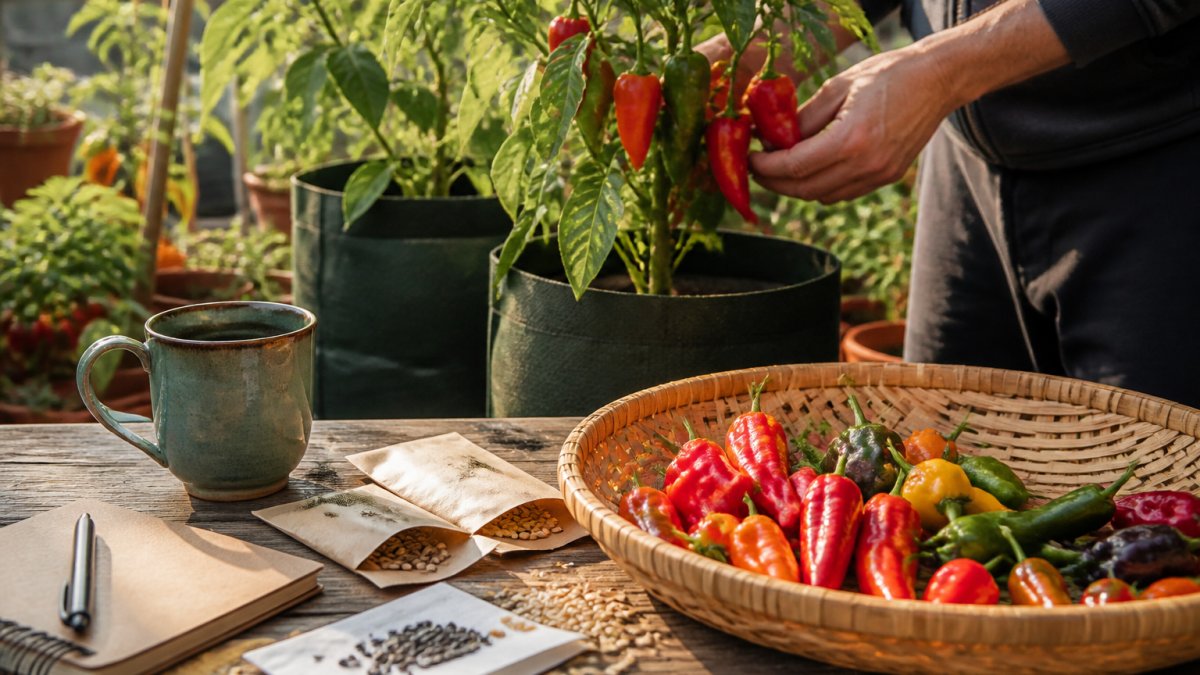
Peppers are easier than tomatoes because you don't need fermentation. Let the pepper ripen fully on the plant, since the color change tells you the seeds are mature.
For fleshy peppers, slice the pod open, scrape the seeds from the inside, and spread them out to dry. For pods that dry on the plant, let them shrivel and harden, then crack them open and collect the seeds.
- Wait for full color change before harvesting
- Scrape seeds from fleshy pods and separate them from the pulp
- Let dried pods harden completely on the plant when possible
How to Dry Seeds for Storage Without Losing Viability
Drying is where many home savers lose their seeds, especially in our southeast humidity. Moisture is the enemy, so spread your cleaned seeds in a single layer on a paper towel, a window screen, or a fine mesh rack and keep them out of direct sun. Good air flow matters more than heat.
The real test is physical: seeds are ready when they feel hard and brittle and snap rather than bend. Check whether dried heirloom seeds will still germinate well before you commit them to storage. A bean seed that folds instead of cracking is still too wet. For a more measurable target, Mississippi State University Extension recommends aiming for seed moisture around 10 to 12 percent for most vegetable seeds before storage. You do not need a moisture meter to get close, but you can use one if you want a number to track.
Tomato - Heritage Cottage Orange →
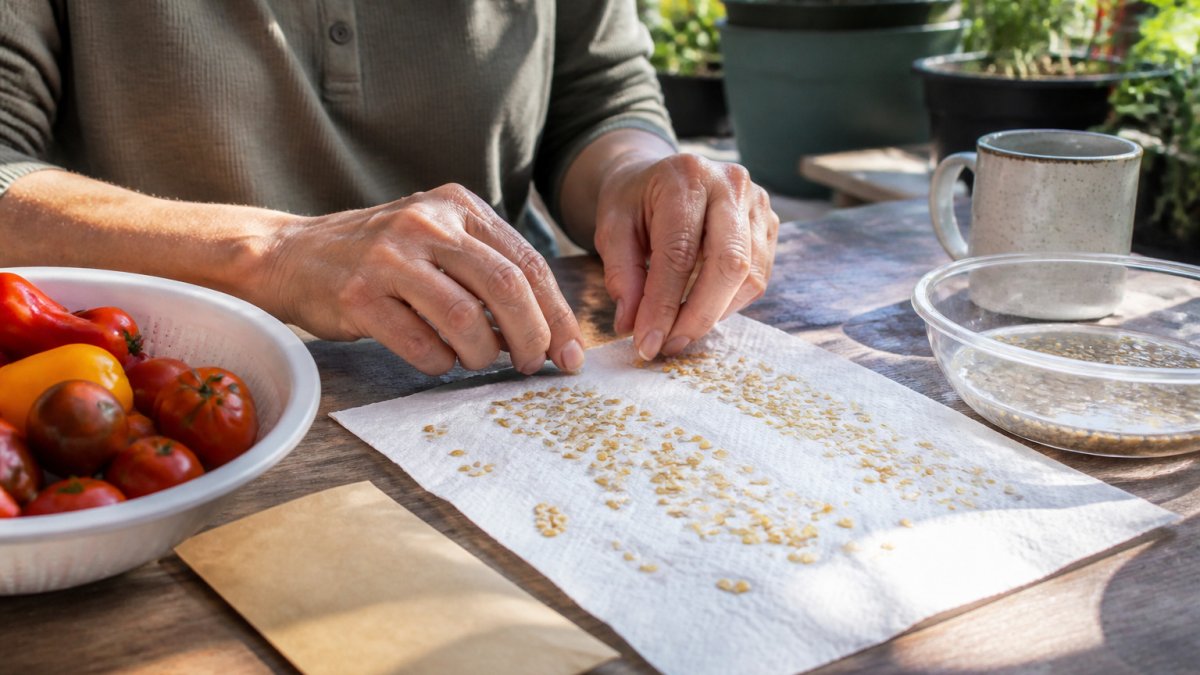
If you are growing in containers, remember that small pots dry out fast and seeds left on a balcony can pick up moisture overnight. Bring screens inside or under cover before evening dew. A simple fan in a spare room works well for container gardeners who do not have a garage or shed.
The main thing is to be patient: seed that snaps cleanly today will store far better than seed that is still leathery.
Here is a quick reference for the drying targets and conditions covered above.
| Item | Value | Note |
|---|---|---|
| Target seed moisture | 10 to 12 percent | Mississippi State University Extension recommendation |
| Maximum safe drying temperature | About 95°F | Higher heat can kill the embryo |
| Ready-to-store test | Seed snaps, does not bend | Bending seed is still too wet |
| Drying spot | Single layer, out of direct sun | Good air flow matters more than heat |
| Container seed at night | Bring screens inside | Dew can re-moisten seeds |
How to Store Seeds for Next Year in Containers
Once your seeds are dry, store them in paper envelopes inside an airtight glass jar. Add a small desiccant packet if you have one, silica gel packets saved from vitamin bottles work fine, and keep the jar in a cool, dark, dry place. Label every envelope with the variety name and the harvest date. You will thank yourself next spring when you are sorting through a pile of seeds that all look alike.
A cool closet or a refrigerator works well. If you use the refrigerator, seal the jar tightly and let it come to room temperature before opening, or condensation will form on the seeds and undo your drying work.
- Use paper envelopes for seed packets so any residual moisture can escape
- Store in airtight glass jars away from humidity
- Add a desiccant packet to control moisture
- Label with variety name and harvest date
- Keep the jar in a cool, dark, dry place
Different crops keep for different lengths of time, and viability varies with storage conditions. Plan to grow out and refresh your oldest seeds every few seasons so you always have fresh stock.
Planning Your Next Seed Saving Season
Start planning in the off-season. Decide which varieties you want to save and set aside space in your containers so they can be isolated from other varieties of the same crop.
Keep a simple notebook with what you grew, where it grew, and how it performed. Over a few seasons, you'll learn which varieties thrive in your yard.
If you're looking for a new variety to start with, the Tomato - Cherokee Purple seed makes a good place to browse. Save seeds from the ones you love and build your garden one season at a time.

Frequently Asked Questions
How long do heirloom seeds last in storage?
Many heirloom seeds stay viable for several years when kept cool, dark, and dry. Onion and parsnip seeds tend to fade faster, usually within a year or two, while tomato and pepper seeds often hold germination for three to four years or more. Storing seeds in airtight glass jars with a desiccant packet and labeling each packet with the variety name and harvest date helps you track how fresh each batch is. A simple germination test on a damp paper towel before planting will show whether older seed is still worth sowing.
How do you know when heirloom seeds are ready to harvest?
Wait until the fruit is fully mature and past the eating stage. Tomatoes should be soft and deeply colored, often a few days past ripe, and peppers should be fully colored and beginning to wrinkle. Bean and pea pods should be dry, brown, and papery, and seed heads should feel hard and brittle. Seeds that are still green or soft will not store well, so patience at harvest pays off next season.
Will old heirloom seeds still germinate next season?
They might, but germination rates usually drop as seeds age. Test a small sample of ten seeds on a damp paper towel inside a plastic bag before sowing a full tray. If six or more sprout within the expected time for that crop, the batch is still strong enough to plant. If fewer sprout, sow more thickly in your containers to make up for the loss.
Saving your own heirloom seed is a skill that improves every year you practice it. Start small with one or two varieties, follow these steps, and you'll soon have a seed bank you're proud of. Happy growing from all of us here at Heritage Cottage Seeds!