 how-to
How to Protect Vegetable Seedlings from Sunscald
Last Updated: November 4, 2026
Quick Summary
Protect vegetable seedlings from sunscald by hardening them off slowly over about a week, starting with one hour of full shade and adding sun and wind each day. Start with gentle morning sun, save stronger afternoon sun for last, and use 30% to 40% shade cloth on containers.
- Sunscald shows as pale, papery, bleached patches on the sun-facing leaves and newest growth.
- Tomatoes and peppers need the full week of hardening off, sometimes longer.
- Drape shade cloth over a low frame, never directly on leaves, and leave the sides open for airflow.
- Transplant in the evening or on a cloudy day so plants settle before facing real sun.
- Water deeply two or three times a week in the morning rather than lightly every day.
Table of Contents
- What Sunscald Looks Like on Vegetable Seedlings
- Why Sudden Sun Exposure Burns Tender Seedlings
- A Hardening Off Seedlings Schedule That Actually Works
- Choosing the Right Shade Cloth Percentage for Vegetables
- Best Practices for Transplanting Seedlings Into the Garden
- Watering and Mulching to Prevent Heat Stress
- Helping Sun-Damaged Seedlings Recover
- Finding Container-Friendly Varieties for Your Garden
- Frequently Asked Questions
What Sunscald Looks Like on Vegetable Seedlings
Sunscald on vegetable seedlings shows up as pale, papery patches on leaves that were healthy the day before. The damaged spots look bleached or white, sometimes tan and crispy at the edges. Gardeners often set out their starts on a bright morning and come home to find the leaves looking scorched.
The damage usually hits the leaves facing the sun. Upper leaves and the newest growth take it hardest because that tissue is the softest. A tomato seedling moved from a windowsill to full afternoon sun can show damage within hours, not days.
Watch for these signs:
- White or tan patches between the leaf veins
- Leaf edges that curl up and turn brown
- Drooping that doesn't recover after watering
- Small transparent spots that dry to papery holes
- Stems that look fine while leaves look fried
Sunscald vs. Look-Alike Problems
Several problems mimic sunscald, and telling them apart changes what you do next. Sunscald appears on the sun-facing side after a sudden move outdoors. Fertilizer burn shows brown, crispy leaf tips across the whole plant, usually within a day of feeding. Drought stress causes uniform wilting and gray-green color. Powdery mildew leaves a white dusting you can rub off.
Here's a quick comparison:
| Problem | Where it shows | Texture | Timing |
|---|---|---|---|
| Sunscald | Sun-facing leaves, newest growth | Papery, bleached | Hours after sun exposure |
| Fertilizer burn | Leaf tips and edges | Crispy brown | A day after feeding |
| Drought stress | Whole plant | Soft, droopy | Over several days |
| Powdery mildew | Any leaf surface | Powdery, wipes off | Slow spread over a week |
If the white stuff rubs off on your finger, it's mildew. If the leaf feels like thin paper, it's sunscald.
Why Sudden Sun Exposure Burns Tender Seedlings
Seedlings grown indoors or in a greenhouse have thin leaf cuticles. That waxy outer layer builds up only when a plant meets real sun and wind. Move a seedling straight from a windowsill to the garden and its leaves can't shed heat or hold moisture fast enough. The tissue cooks.
Direct sunlight on a calm day can push leaf temperature well above air temperature. Add wind and the leaves lose water faster than the roots can replace it. That one-two punch causes most of the damage gardeners blame on heat alone.
A common mistake is judging sun by air temperature. A mild 70-degree day in April can still scorch a tender start, because it's the intensity of the light and the sudden change that does the harm, not the thermometer.
A Hardening Off Seedlings Schedule That Actually Works
A hardening off seedlings schedule works by adding a little more sun and wind each day over about a week. Rushing it is the single biggest cause of sunscald we see. The goal is slow, boring progress.
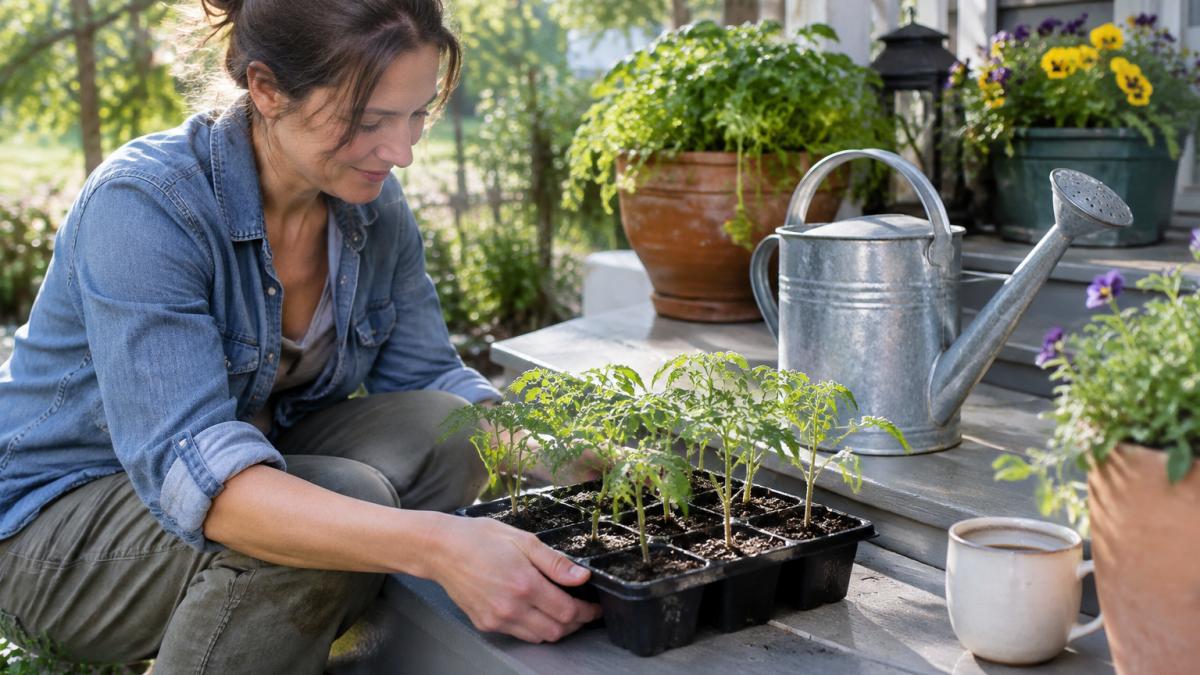
Here's the schedule we recommend:
- Day 1-2: Set trays outside in full shade for one hour. Bring them in.
- Day 3-4: Two hours in dappled shade or morning sun only.
- Day 5-6: Three to four hours with a little direct morning sun.
- Day 7-8: Most of the day outdoors, shade in the afternoon.
- Day 9-10: Leave them out overnight if nights stay warm.
Start with morning sun. Afternoon sun is stronger and hotter, so save it for last. If you want a deeper walkthrough, our guide on how to harden off heirloom seedlings breaks the process down step by step.
Adjusting the Schedule by Seedling Type
Not every seedling hardens at the same pace. Tomatoes and peppers need the full week, sometimes longer, because they came from warm indoor conditions. Squash and pumpkins grow fast and can toughen up in four to five days. Cool-season starts like lettuce and kale handle gentle sun sooner but still burn if you skip shade.
A simple rule: the softer and greener the leaf, the slower you go. Seedlings with thick, fuzzy leaves move faster than thin, glossy ones.
Choosing the Right Shade Cloth Percentage for Vegetables
Shade cloth percentage tells you how much sunlight the fabric blocks. A 30% cloth blocks about a third of the light, while a 50% cloth blocks half.
Higher percentages suit different jobs. A 50% cloth helps established plants through the hottest stretch of summer. Anything above that is usually for shade-loving crops, not for hardening off sun-hungry vegetables.
Here is how the percentages break down for seedlings:
| Shade cloth | Light blocked | Best use for seedlings |
|---|---|---|
| 30% | About one-third | First week outdoors, morning sun, containers |
| 40% | A little less than half | Transition to full sun, afternoon protection |
| 50% | Half | Established plants in summer heat, not tender starts |
| 60%+ | More than half | Shade-loving crops, not sun-hungry vegetables |
Setup matters as much as the percentage:
- Drape cloth over a low frame, not directly on leaves. Contact with fabric can trap heat and bruise tender growth.
- Leave the sides open so air moves through. Still air under cloth on a sunny day can cook seedlings faster than open sun.
- Anchor the edges so wind doesn't whip it. A loose cloth that flaps can tear leaves and defeat the purpose.
- Move cloth to the sunny side in the afternoon. Morning sun is gentler, so you can remove cloth early and replace it after lunch.
Watch out: leaving shade cloth on all day in cool weather can slow growth and keep soil too wet. Remove or adjust covers once seedlings stop wilting by mid-morning.
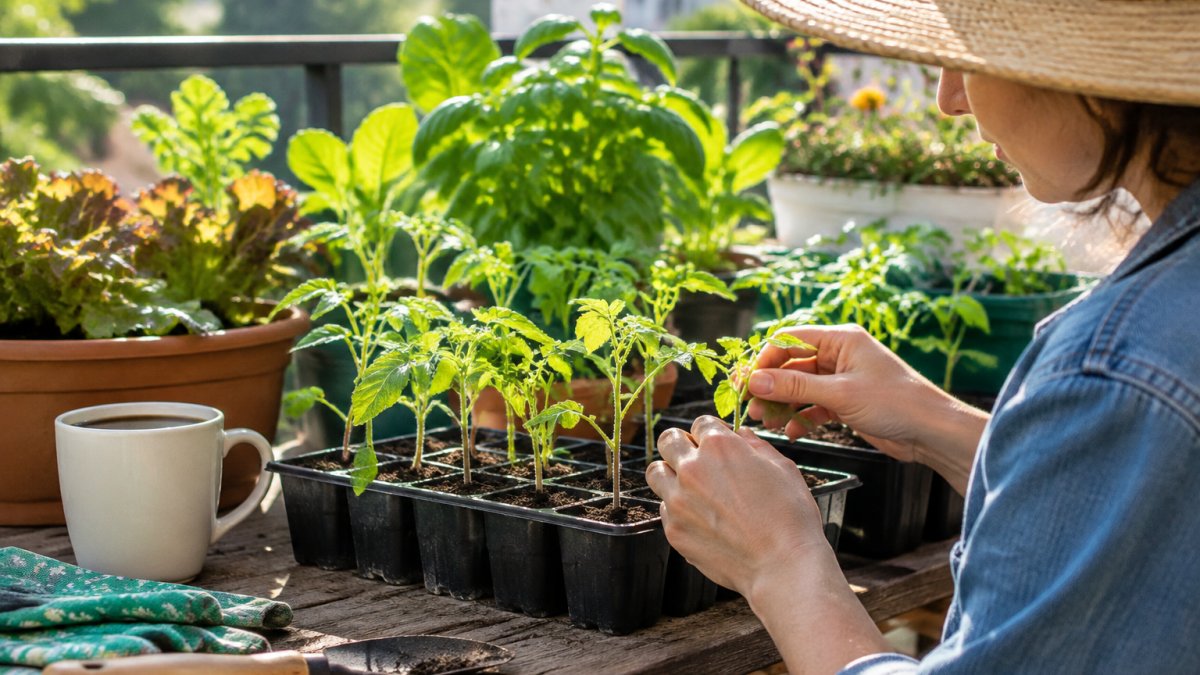
For container gardeners, shade cloth is especially useful on a sunny balcony or patio.
Southern Gardening All Year Long →
If you're deciding what to grow under shade, our list of shade tolerant vegetables for Southern gardens covers which crops actually prefer less sun.
Best Practices for Transplanting Seedlings Into the Garden
Transplanting goes best in the evening or on a cloudy day, right after seedlings finish hardening off. Soft light gives plants a full night to settle before they face real sun. Water the hole before you set the plant, then water again after.
A few habits make a real difference:
- Set plants slightly deeper than they grew in the tray
- Keep the root ball intact; don't tease it apart roughly
- Space plants so leaves don't crowd and trap heat
- Water deeply at the base, not on the leaves
Good soil prep matters as much as the planting itself. Our step-by-step guide on how to amend soil for Southern vegetables walks through building a bed that holds moisture without staying soggy.
Watering and Mulching to Prevent Heat Stress
Consistent watering is the cheapest sun protection you have. A well-watered seedling keeps its leaves cool through transpiration. A dry one has no reserve to draw on when the sun hits. Water in the morning so plants go into the hot part of the day with full soil moisture. Applying these same principles of moisture management and shade helps to protect desert shrubs during the most intense periods of summer heat.
Mulch does the rest. A layer of straw, leaves, or pine bark keeps soil cool and slows evaporation. It also keeps moisture off the leaves, which helps head off problems like powdery mildew.
Keep these points in mind:
- Water deeply two or three times a week rather than lightly every day
- Check soil moisture an inch down before watering again
- Pull mulch back a little from stems so they don't stay wet
- Refresh mulch as it breaks down through the season
Gardeners focused on heat often want tougher crops to begin with. Our roundup of drought tolerant vegetables for Southern gardens is a good next read.
Helping Sun-Damaged Seedlings Recover
Sun-damaged seedlings usually recover if the growing point is intact. Move the plant to shade right away. Water it gently.
Triage steps:
- Move to bright shade, not deep dark. Deep shade can slow recovery and encourage weak, leggy growth.
- Water at the base and let the soil drain. Avoid wetting damaged leaves, which can invite disease.
- Snip off leaves that are fully crispy. Leave any green tissue, even if it looks sad, because it is still making food.
- Wait for new growth before feeding. A gentle, balanced liquid feed at half strength is safer than a full dose once new leaves appear.
- Reintroduce sun slowly once new leaves appear. Start with morning sun and build back over several days.
Watch out: don't rush a damaged seedling back into full sun just because it looks better. The new leaves are still tender and can burn again within hours.
For container-grown seedlings, recovery is a bit different. Pots dry out fast, so check moisture twice a day in hot weather.
How do you know when to replace a plant? If new leaves come in green and flat, the plant is on its way back.
A little extra care early pays off all season. A seedling that hardens off slowly and transplants well usually outgrows one that got scorched in its first week outdoors.
Finding Container-Friendly Varieties for Your Garden
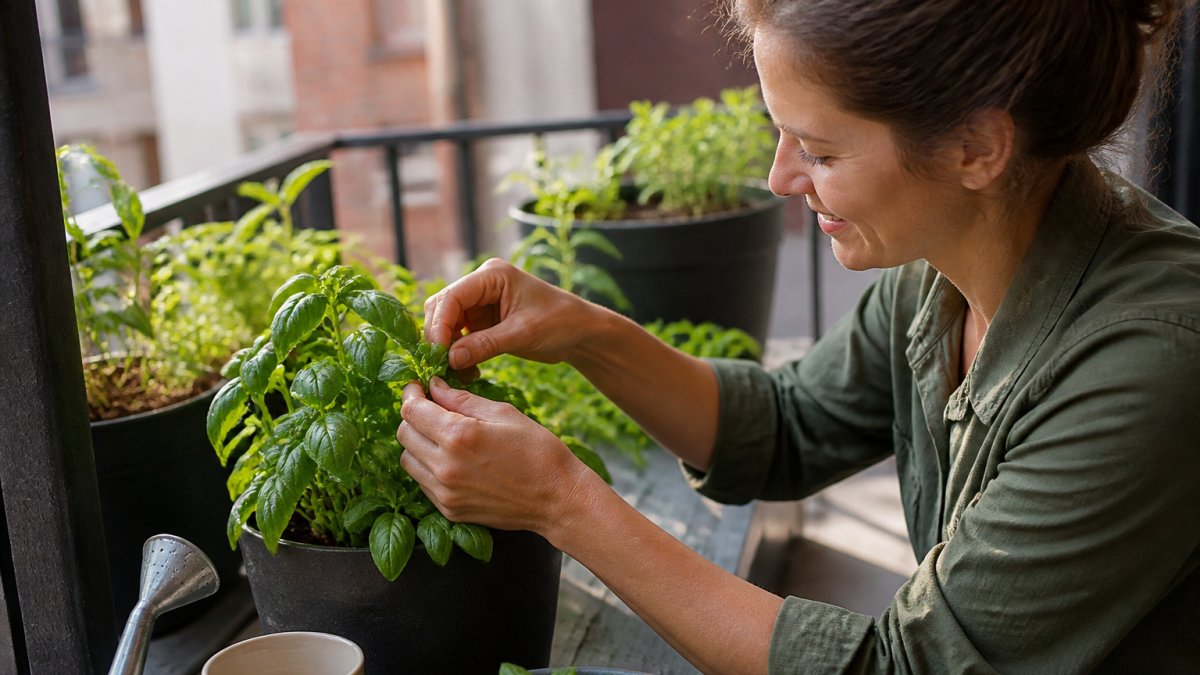
Container gardeners face sunscald on a smaller scale, but the rules don't change. Pots heat up fast, and a seedling on a sunny balcony can burn just like one in a garden bed.
Heirloom varieties bred for heat and strong sun handle the transition better. Our guide on choosing heirloom seeds for Southern heat helps you pick types that shrug off a hot start.
One more thing worth knowing: a little extra care early pays off all season. A seedling that hardens off slowly and transplants well usually outgrows one that got scorched in its first week outdoors.
Sunscald is one of those problems that's easy to prevent and frustrating to fix once it starts.
Frequently Asked Questions
Can vegetable seedlings recover from sunscald?
Often, yes, if the damage is caught early. Seedlings with bleached or papery patches on a few leaves usually push new growth once they are moved back to bright, indirect light. Water them consistently and hold off on fertilizer until you see fresh leaves. If the stem is mushy or the growing tip is scorched, the plant is unlikely to recover and is better replaced. Give damaged vegetable seedlings a week of gentle conditions before judging whether they will pull through.
How long should I keep seedlings in the shade after transplanting?
Plan on three to five days of partial shade right after transplanting, then step them into more morning sun each day. A simple approach is to keep new transplants under shade cloth or a light row cover for the first few afternoons, when the sun is strongest. Watch the leaves: if they look washed out or curled by mid-morning, add another day of shade. Once they hold their color through a full sunny day, you can leave them uncovered.
Is shade cloth necessary for container-grown vegetables?
Containers heat up faster than garden soil, so shade cloth earns its keep on a sunny patio or balcony. A 30 to 40 percent shade cloth over tomato, pepper, or squash seedlings during their first week outdoors takes the edge off afternoon sun without blocking too much light. Once the plants are established, most full-sun vegetables do fine without it, though a cloth draped over a trellis can help during a heat wave. It is a cheap way to protect vegetable seedlings in small spaces.
What is the best way to harden off seedlings to prevent sunscald?
Move seedlings outdoors gradually over seven to ten days. Start with one hour in dappled shade on day one, then add an hour of morning sun each day while keeping them out of harsh afternoon light. Bring them back inside or under cover at night for the first week. By the end of the schedule, they should handle a full day outside. Water before you set them out, and skip the process on windy or very hot days.